Thursday, February 17, 2011

Kitty Cats and Airplanes

Wanna know how to make these bad boys?


I'm going to be a guest over at Kitty Cats and Airplanes and show you how!! How cool is that!


Stop over at Amie's blog to check it out! See you there!!

Monday, February 14, 2011

Heart Wreath

Ok, I've made tied-fabrics things before. I've made flip-flops, and I've made wreaths. My favorite is the heart wreath. I'm going to show you have to make one!!

What you'll need :
  1. Lots of fabric strips (I try to cut mine at 1/2"x6")
  2. Thin Heart shape (The Mr made mine out of a wire hanger)
  3. Lots of time!

Ok, I cut my way cute awesome pink, purple, and red fabric into strips. I try to cut them at 1/2"x6", but sometimes I end up cutting at 4.5". Either one works, plus, the different lengths add shape/volume/puff/dimenson. So, cut out lots!!

I showed my shoes, so you could tell just how much fabric I cut. I did NOT use all of it, but cutting lots means you can invite friends over to make some too!

Next, you'll take your thin heart shape and start tying the fabric around it. Pick your 1st strip, tie it onto the wire frame using a basic Overhand Knot.

Take your next strip, tie it on with another overhand knot.

Now, take 1 end of each of the tied-on strips, and tie those ends together using an overhand knot.

And contiue adding more strips and tying 1 end of the new strip to the end of the last strip you tied.

When you tie the strips together, it secures the knots, and the strips on the wire. It also adds a more "scattered" look.

And, don't worry about fraying, that just adds to the look.

Once you're all done, tie a ribbon at the top and hang it on your door!!

Thursday, February 10, 2011

Washer Necklace

So yesterday I stalked some blogs.....and I found a washer necklace! Here's where I found the idea for the Washer necklace. I decided to TRY a tutorial....

Unbag all the washers.

Sting 2 washers to start. I string my washers on the END at my RIGHT hand. ***I suggest you start in the middle!! Not at the end!*** You may end of 'sliding' the washers all "down" the ribbon some.

Next, you'll want to go BACK thru the first washer. For me, the 1st is the left one.... My washers are going to be strung from the RIGHT..  Heading this way  .

Next, you're going to go back thru the 2nd washer.  {Remember, the end of my string I put the washers ON is always pointing RIGHT.}

Pull the ribbong tight so the washers pull snug right together.

Now it's time the the Third....

Take the end of the ribbon, and loop it thru the 2nd washer.

Now, sting the ribbon back thru the middle of the 3rd washer. And then pull it tight. When pulling the washers tight, you may have to fidget with the ribbon and the washers a little bit. That's an awfully awkward angle to be pulling ribbon back and forth smoothly at, so just ease it where you want it.

Once you figure out the first 3 or so, it goes smoothly. It's just repitition....

I had to slide all the washers down to be about in the middle of the ribbon, when I was done. I'd suggest you start your washers somewhere around the middle of your ribbon, just make sure you have enough on each end to tie.

Ta da!! I like my necklace, cuz it's reversible!!

So cute!!

Monday, February 7, 2011

Kiss List FHE

When the Mr and I first got married, we got a book called "Family Home Evening for Newlyweds" Now, honestly, I do judge books by their covers, and the picture on the cover was of "old" people. Her dress is old-school, and they are NOT our age! So I said thank you and put it on the shelf. Well, we recently had our 4th move since being married. And I found that book, and flipped thru it. The ideas were awesome!! And this year, I have a goal to have FHE every week. We've been kinda flimsy on what day we sit down and have FHE, but we've held FHE every week since New Year's!!

For Valentine's day, I wanted to have an awesome and fun FHE. I looked thru the book and found one I liked alot! It's called Kiss List.

What you'll need :
  1. 1 bag of Hershey's Kisses
  2. 1 piece of paper, cut into strips (I cut mine 1/2"x3" long.)

Hand him 10 strips of paper, and keep 10 for yourself. Now, write this sentence on each strip, completing it different with each strip : I love you because...

Once you've written your 10 sentences, each of you unwrap 10 Hershey Kisses. Try to keep the foil as complete as possible!! Take out the Hershey's slip and insert your own! Rewrap those kisses!!


Now you can both open 3 of 4 kisses for FHE, and then enjoy opening 1 kiss every day for the next week!

This was lots of fun to do, and I found out that the Mr kept his foil wrappers more complete than I did, and he rewrapped them better than me too! Who knew a guy with such big hard working hands could wrap something so nice as a Carmel Kiss?!


**Family Home Evening is great for everyone. It is a set day of the week and a set time to spend time with your family. A time to get to know each other even more than you already do. If FHE isn't something you and you family do, now would be a great time to start. It doesn't have to be a big planned event with all the extras, a movie night, a game night, making dinner together all count!! Spend time with your loved ones!!

Saturday, February 5, 2011

Football Cupcakes

Ok, I think I should warn you. I'm an avid football fan, wait, an avid Packer fan. When the Mr and I moved to CO, I got tickets for a preseason game, Broncos v. Packers. Yeah it was pretty awesome. I even made a shirt, tie-dyed it green and yellow and spray painted "Rodgers is my home boy" on it! Yeah, it's like that. So when my team made it to the Superbowl (YE-YEAH!!) I had to go all out for food!! Today I made up some Touchdown Cupcakes!


That's how they end up! Too cute, huh? Here's how :

I made 1 box of Yellow cake mix, and 1 box Devil's food cake mix. I bought the cheapest cupcake wrappers I could find, and the turned out being THE BEST! I bought the FOIL ones, and you don't even have to stick them in a muffin pan, you can just put them on a baking sheet and pop them in the oven! I was able to make over 50 cupcakes using only 2 pans!! You follow the instuctions on the box for the cupcakes.

I made a double batch of the cream cheese frosting, and tinted it green. I love cream cheese frosting. Then I frosting the cupcakes using a standard star tip. On a few of the cupcakes, I put pudding in the middle. The Mr loves chocolate pudding, and I wanted to surprise him.

Ok, once frosted, let them sit there for a little bit so the frosting can harden a little bit. My overall "vision" isn't done yet! I took the "almond bark" baker's chocolate and melted some in a glass bowl in the microwave. I got this tutorial from Ang over at Angie's Creative Corner, on 
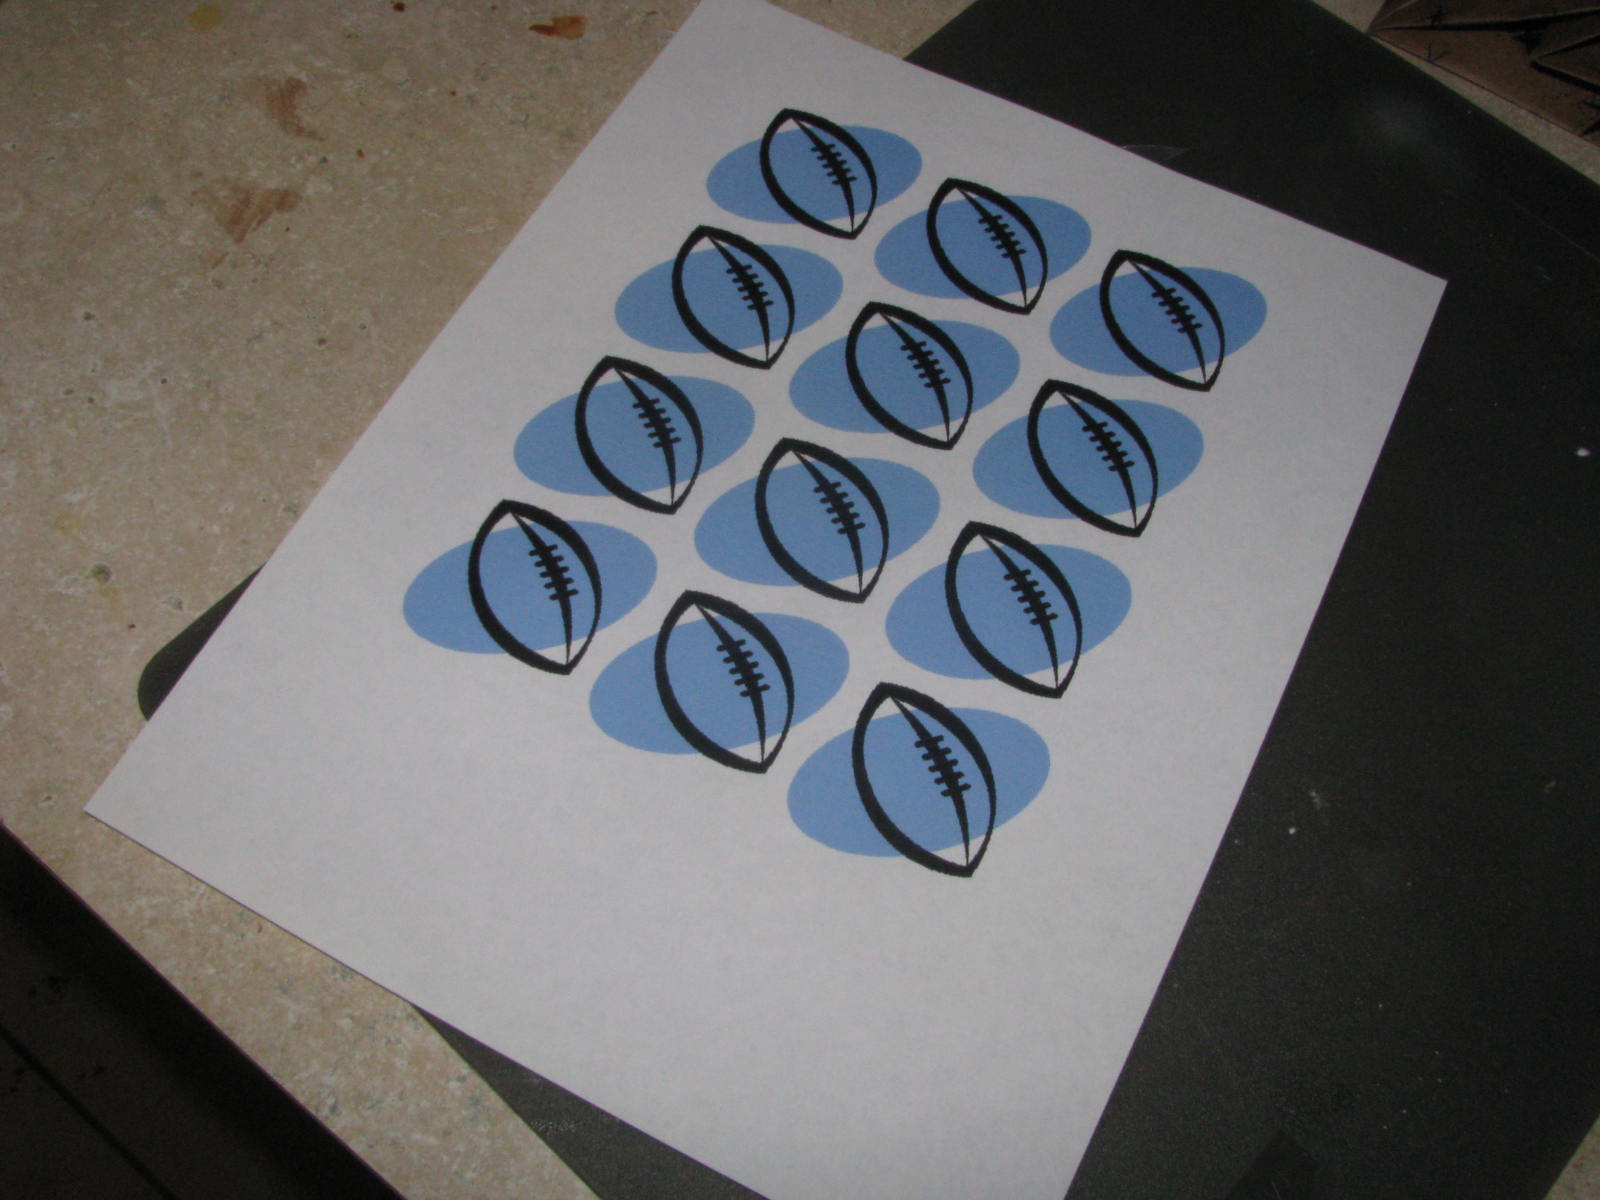
Cupcake toppers! I printed out the picture I wanted to draw in chocolate, then snagged some wax paper.

Once the chocolate was melted, I poured the chocolate into a ziploc baggie. The first time, this happened :

Then I got smart on the 2nd color, and put the bag in a cup, so I could hold the bowl with both hands.

Then started to draw. The chocolate was really melty so it came out very fast, even though it was such a tiny tiny hole I cut!!

So, now I've got lots of little footballs (and goal posts!) I let them harden while I watched some Ugly Betty and Eureka. Then when the footballs were solid, I folded back the wax paper, and put them on the cupcakes!


Ta da!! Some only have goal posts and some only have footballs, cuz it was really hard to draw 50+ footballs/goal posts before the chocolate in the baggie started to solidify! But this was way fun and super easy!! Now, how do I send these to Dallas before tomorrow?!

Love for all things green and gold (including my cupcakes!) Go Pack!

Thursday, February 3, 2011

Questions

Ok, so I woke up this morning with full intentions of cleaning my living room {cuz right now it looks like a dying room!} but, as I was bringing my crocheting stuff back up to my craft/computer room, I had to check the F'Book and my Dashboard! I had a comment/question from Amie over at Kitty Cats & Airplanes.

How long have you been crocheting? Now it seems like a simple question, I could have just hit her up on F'Book or something, but I decided that I needed to let everyone get to know me a little more.

How long have you been crocheting?
I have a big huge goal list, and on that list is Learn to knit and crochet. My husband knows how to do both. He taught me the basics of knitting and crocheting on May 9th, 2010 (Mother's Day!!). I know the exact date cuz I blogged about it. I didn't really think anything of it because I didn't understand patterns and they looked really really hard. But I see how useful and easy it is!! I learned the treble crochet, how to fasten off, and what a treble decrease is on Tuesday.

What is your favorite houshold chore? What is your least favorite?
I like cooking. That's my favorite. The Mr & I both HATE doing dishes. Our dishwasher just crapped on us, and now we hate it more.

What is your favorite city?
Flagstaff, AZ. We drove thru there to get out dog (we are devoted!) and Flagstaff was beautiful!!

Have you found real love yet?
Yes I have! Real and unconditional love! The Mr is absolutely amazing!!!

What's one thing you eat almost every day?
The generic brand of Townhouse crackers. The GV Buttery Smooth ones. Mmmhmm!

What was your last thought before falling asleep last night?
ooh, I could do that with ribbon!

What's the worst injury you has as a child?
I fell off the bathroom counter trying to brush my teeth (devoted, remember!!) and broke my right arm

Will you/have you worked out today?
Not yet, and unless running back and forth across the front end of a homedecor store counts...

List 3 things you wouldn't live without?
My family and friends, my technology and my books

Ok, if there are any other questions, I will answer them I promise. However, I do really need to go clean my living room. :) And Amie, we'll have to see if I can perfect or at least get better about corcheting before I sell them. :)

Wednesday, February 2, 2011

Crochet Headbands

Ok, I work at a homedecor store. We also sell food and even clothing. We sell these types of headbands.


So I went over to Ang at Angie's Creative Corner for help on corcheting! (Yes, I know the ones pictured above are knitted!) We found a pattern for the headband style I wanted. She found it at LibiLou Creations! We searched out a Treble Crochet and a Treble Crochet decrease on Crochet N More. I went to Jo-Ann's and got some Cotton yarn, which was on sale!!
This is mine :

This is Ang's:

Then when it was all done, we made flowers. Teri taught us how to make flowers a while ago (almost a year ago) and Ang posted the tutorial from Little Birdie Secrets.
This is one I made last night, no flower yet. I'm still working on keep it all the same looseness and thickness.

This is really uneven, one end stretches out for a long time, and I ended up with like 21 rows and 14 in the middle rows. I don't know where those extra stitches or rows came from!!

I'll post more when I get them done!! :) Cheap and easy craft! Plus, these headbands are all the rage!!

Tuesday, February 1, 2011

JumbleBerry Pie recipe

The Mr & his family LOVE pie. When we were dating, they had a Pie Night every week or so. I figured if I wanted "IN" I had to learn to make pie! So I did.

Let me tell you a little bit about this recipe. I searched for a recipe I could use frozen fruit with. That's all I wanted. When I found this freaking awesome recipe on BHG.com, I was so excited! However, I also don't have 4 hours to create a pie entirely from scratch (hence the FROZEN fruit idea!). So I go out and I buy a box of refrigerated pie shells (I know how to make pie crust, an advisor in our single's ward taught me before I got married! It's fun, but lots of time!) then I start making. I put 5 cups of mixed fruit in a bowl. Dump on the flour and sugar and cinnamon. Stir it, then pop it in the microwave to thaw out just a bit. Every now and then I'll take it out and stir it. Once I can stir it and no white from the sugar or flour is left, I put it in the pie shell. I take the 2nd pie shell and (on a flour sprinkled surface) I start cutting strips. I use a pizza cutter (but I just bought a pastry cutter that cuts the crimped edges!! But it works the same as a pizza cutter. Knives drag the dough along, pizza cutters ROLL!!) then I start laying the strips on the filled pie shell. Criss-crossing every one. 1st up and down, 2nd side to side. 3rd up and down. To get them to weave just pull up on the strip under it, so each strip goes over-under-over-under. It's hard to explain, alot easier to do!! Trust me! Ok, when the pie is all latticed up, and the edges are pinched together, I take a spray bottle filled with clean water, and spray the top. Then I sprinkle sugar on the top. I don't usually wrap the edges in foil, but today I did, cuz I was baking 2 and have to switch places 1/2 way thru. (Don't ask, I'm not even sure why that made sense in my head but it did.) After 50 minutes in the oven, it should be done! Serve with ice cream!! Mmm!

I added some little notes. Also, since BHG called it berry fruit pie, I decided to add my own title! Enjoy the pie!